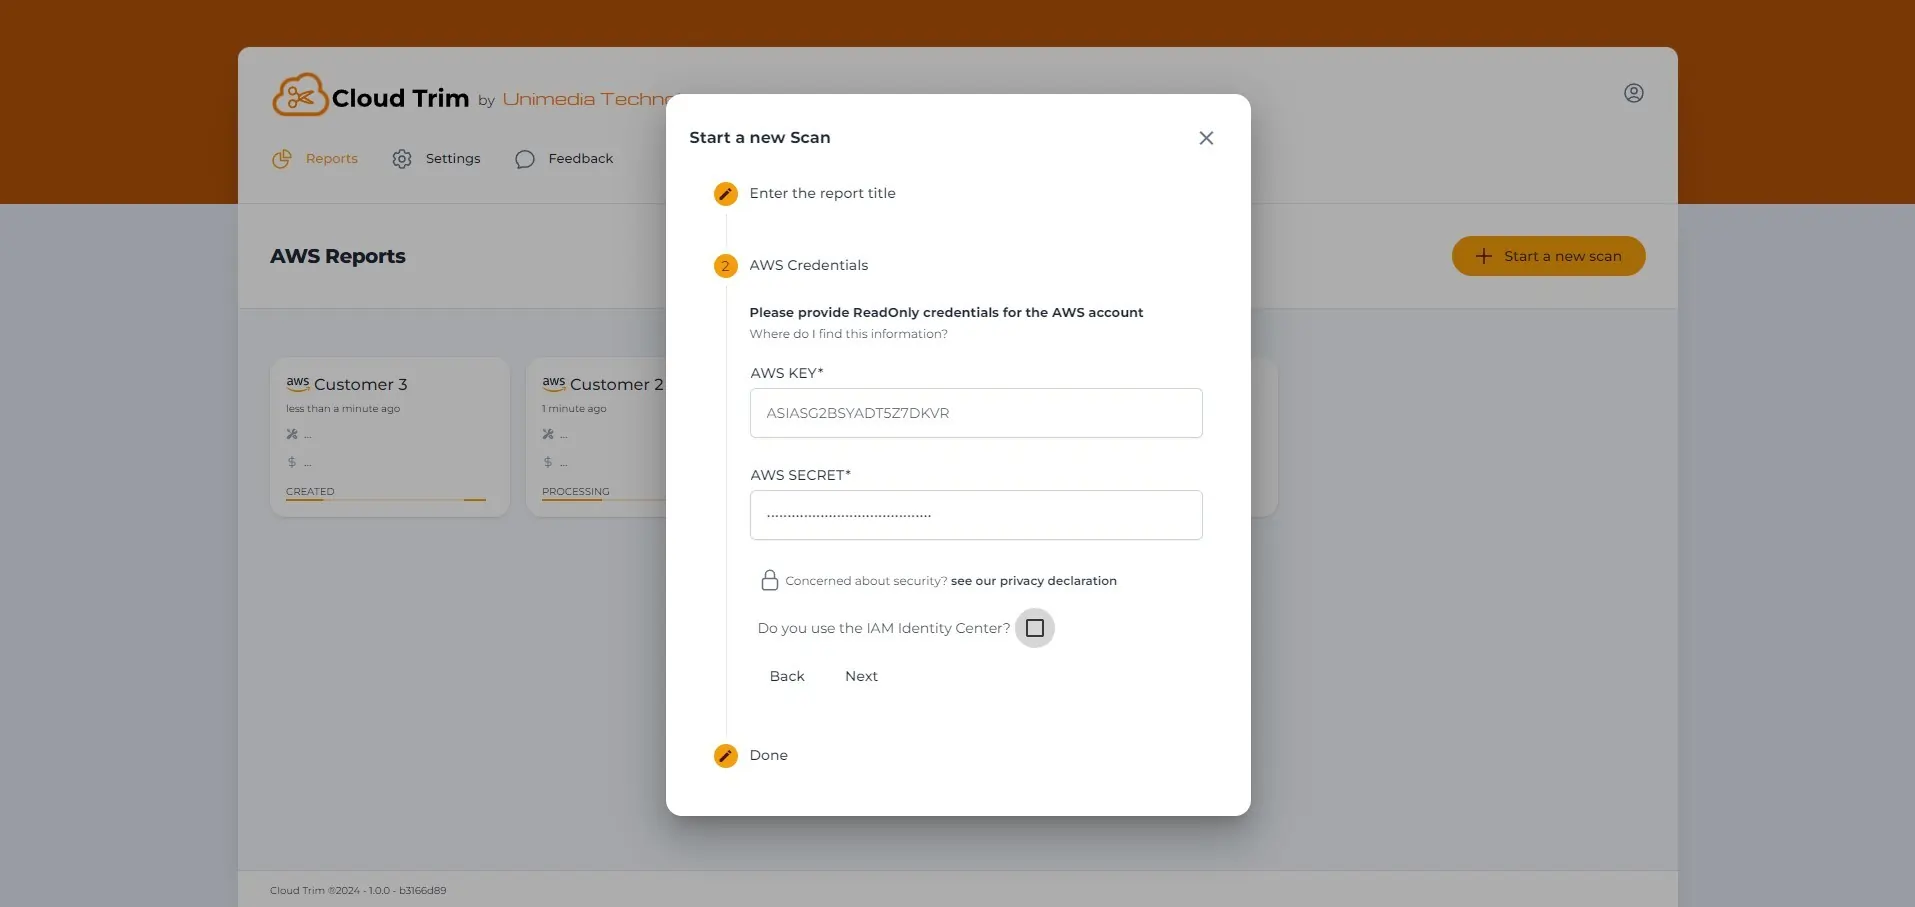
How to setup credentials For Non-Technical Users
Setting up Cloud-Trim is easy! Here’s how you can create a secure AWS user with ReadOnly access to allow us to scan your cloud infrastructure—without touching any of your data.
Securely Connecting Your AWS for Cloud Optimization
There is two options:
Descripcion with IAM
Step-by-Step Guide: How to Create an IAM User for Cloud-Trim
1. Create an IAM User:
- Log in to your AWS Management Console at aws.amazon.com.
- Navigate to the IAM (Identity and Access Management) section.
- Click on Users and then select Add User.
- Choose a username like “CloudTrimUser.”
- Under Access Type, select Programmatic access. This will generate the AWS Access Key ID and Secret Access Key that Cloud-Trim will need.
2. Set Permissions:
- Under Permissions, select Attach existing policies directly.
- In the search bar, type ReadOnlyAccess.
- Select the ReadOnlyAccess policy. This ensures Cloud-Trim can only view your infrastructure but cannot make any changes.
3. Create the User and Download Credentials:
- Review and create the user.
- On the final page, you will see the Access Key ID and Secret Access Key. Please copy and save them in a secure place (you can download the CSV file as well).
- Important: You will need to input these credentials into Cloud-Trim for a one-time scan.
Descripcion with Identity Center:
Step-by-Step Guide: How to Create an Identity Center User for Cloud-Trim
1. Create an Identity Center User:
- Log in to your AWS Management Console at aws.amazon.com.
- Navigate to the the IAM Identity Center section
- Click Enable IAM Identity Center
- Click create AWS organization (this might take a bit of time)
- Choose Users.
- Choose Add user and provide the following required information:
- Username: This user name is required to sign in to the AWS access portal and can’t be changed later. It must be between 1 and 100 characters.
- Password: You can either send an email with the password setup instructions (this is the default option) or generate a one-time password. If you are creating an administrative user and you choose to send an email, make sure that you specify an email address that you can access.
- Email address (must be unique), Confirm email address, First name, Last name and Display name.
- Choose Next.
- Choose Edit to make any changes. After you confirm that the correct information is specified, choose Add user.
To find more information about creating an Identity Center user click here
2. Set Permissions:
- Expand Multi-account-permissions and go to Permission sets
- Under Permissions
- Click on Create Permision set
- Select the Predifined permission set
- Scroll down and choose the Read Only Acces and click Next
- Choose Edit to make any changes. After you confirm that the correct information is specified for both steps, choose Create.
- Once the permision has been created go to AWS accounts
- Select the user you have created earlier and click Assign users or groups
- Go to Users tab, select the user you created in the Step 1 and click Next
- Select the permision you have just created and click Next
- Choose Edit to make any changes. After you confirm that the correct information is specified, choose Submit.
To find more information about permisisons visit this guide
3. Download Credentials:
- Singn into the app with the user you just created
- Click on the AWS account you want to use and click on Acces Keys.
- Scroll down until you see the option 3, there you will see the Access Key ID, Secret Access Key and AWS session token. Please copy and save them in a secure place.
- Important: You will need to input these credentials into Cloud-Trim for a one-time scan.
- Once in the Cloud-Trim scan page you will have to mark the Do you use the IAM Identity Center checkbox to be able to introduce the session token.
